Introduction
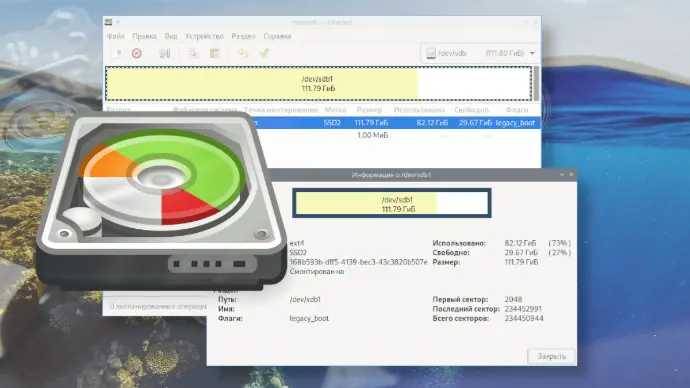
GParted is a free partition editor for graphically managing your disk partitions. You have the freedom to run, copy, distribute, study, change, and improve GParted.You do not have to pay money to use GParted.
GParted is distributed under the GNU General Public License version 2 or (at your option) any later version.
With GParted you can resize, copy, and move partitions without data loss, enabling you to:
- Grow or shrink your C: drive
- Free up space for new operating systems
- Create partitions to share data among operating systems

What Is Partitioning?
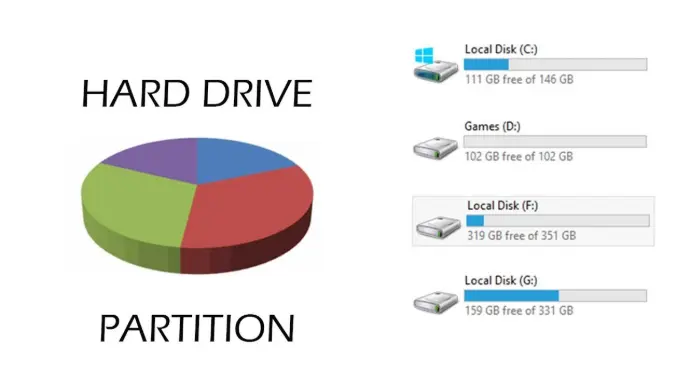
To partition a hard drive in Linux means to section off a part of it and make that part available to the operating system.
In other words, a hard drive isn't useful to your operating system until it's partitioned. Additionally, it's not available for you to store files on until you format it (which is a separate, just as simple process).

Step by step guide:
Step 1: List Disks and Partitions.
Before making any changes, list all existing disks and partitions to understand the current drive structure. Use the following command:
sudo fdisk -l
This command will display all the disks and their partitions. Identify the disk you want to partition.
Step 2: Select the Storage Disk
To select the disk for partitioning, use the command:
sudo fdisk [disk-name]
Replace [disk-name] with the actual disk name (e.g., /dev/sdb). This will open the fdisk utility in command mode.
Step 3: Create a New Partition
In the fdisk command mode, use the following steps to create a new partition:
- Create a new partition: Type n and press ENTER.
- Select partition type: Choose p for a primary partition or l for a logical partition.
- Specify the partition number: Press ENTER to accept the default.
- Specify the first sector: Press ENTER to use the default.
- Specify the last sector or size: Enter the size (e.g., +2G for a 2GB partition) and press ENTER.
Step 4: Write Changes to Disk
To write the changes to the disk, type w and press ENTER. This will save the new partition table.
Step 5: Format the Partition
After creating the partition, format it using the appropriate mkfs command. For example, to format the partition with the ext4 file system, use:
sudo mkfs.ext4 /dev/sdb1
Replace /dev/sdb1 with the actual partition path.
Step 6: Mount the Partition
To use the new partition, create a mount point and mount the partition to it:
- Create a mount point:
sudo mkdir -p /mnt/new_partition
- Mount the partition:
sudo mount /dev/sdb1 /mnt/new_partition
- Verify the mount:
df -hT
Conclusion:
Creating a partition in Linux using the fdisk command involves listing the current partitions, selecting the disk, creating a new partition, writing the changes, formatting the partition, and finally mounting it. This process helps in efficient disk management and ensures better system organization